Ray Tracer Challenge, pt. 4: The Next Dimension
The full code for this challenge can be found at this repo.
- Part 1: Creating A 2D Image
- Part 2: Enter The Matrix
- Part 3: Let There Be Light!
- Part 4: The Next Dimension
Greetings, you beautiful people! I have great news: we’ve finally reached the stage where we can create a real life 3D image. Behold!
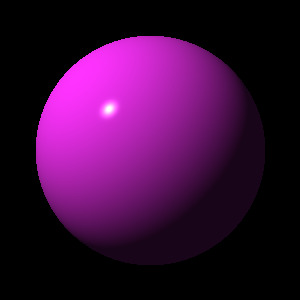
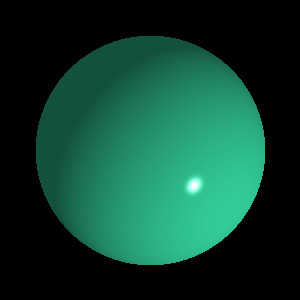
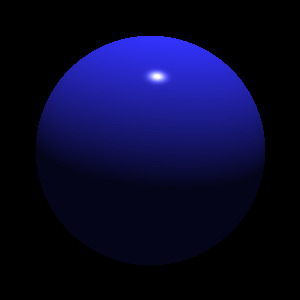
Such beautiful balls we’ve created! What’s fascinating is all that’s needed to take the original 2D circle up to the 3rd dimension is light and shade.
Cast Out the Dark
There are many ways to simulate light algorithmically; the method the book describes is the Phong reflection model. It consists of three layers of colors derived from the base image (our 2D circle).
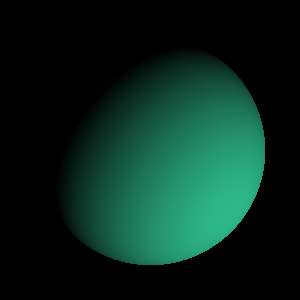
- Ambient reflection - light that is reflected off another object. When you light a candle in a dark room, the light that bounces off the walls back at you is ambient. This value is constant in the Phong model and the entire 2D circle is colored with it.
- Diffuse reflection - light directly reflected from a matte surface.
- Specular reflection - the reflection of the light source itself. It’s the dot you see on a curved surface. Controlled by a “shininess” value.
Alone, they aren’t much, but combined, they convince your brain you’re looking at a sphere.
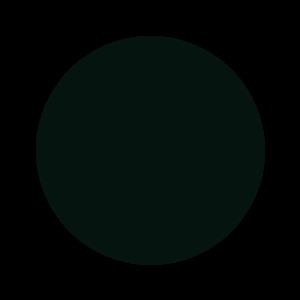 Ambient
 Diffuse
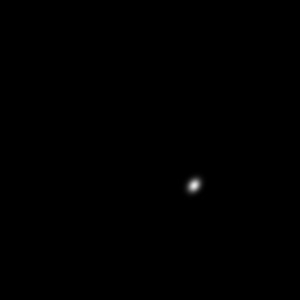 Specular
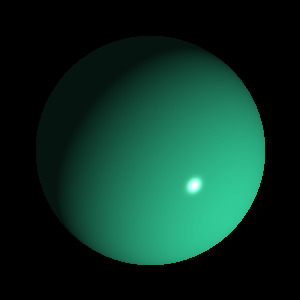 Combined
It blows my mind that layers of color is all it takes to elevate a shape out of the second dimension. Let’s see how we can represent these layers in code, shall we?
Data Prep
We’ll need a few new pieces of information to work with. First, is the material of the object. This will encompass the required reflection values we just discussed along with the color.
pub struct Material {
    color: Color,
    ambient: f64,
    diffuse: f64,
    specular: f64,
    shininess: f64,
}
Next, we’ll need a point light, a light source of no size. This describes the point in space the light originates and its intensity. The intensity is a color to represent the range between white and black.
pub struct PointLight {
    position: Tuple,
    intensity: Color,
}
When we get intersections that are hits while we’re casting rays into the world, we’ll be able to record the point of the hit, the normal of the object at the hit point, and our eye vector. A “normal” is a vector pointing perpendicular to the surface of the object.
let hit_point = ray.position(intersection.time);
let normal = sphere.normal_at(&hit_point).unwrap();
let eye = -ray.direction; // reverse of the ray

let color = lighting(
    &intersection.object.material,
    &light,
    hit_point,
    eye,
    normal,
);
canvas.write_pixel(&canvas_point, color);
At this point, we can call the lighting function to calculate the exact color of that hit point to apply to the pixel.
Here Be Maths
The lighting function uses these parameters to weight the three layers
defined in the material and add them together. It’s the work horse of this part
of the algorithm.
pub fn lighting(
    material: &Material,
    light: &PointLight,
    position: Tuple,
    eye: Tuple,
    normal: Tuple,
) -> Color {
    // combine surface color with the light's color/intensity
    let effective_color = &material.color * &light.intensity;
    let light_direction = (light.position - position).normalize();

    // Calculate ambient and initialize other layers
    let ambient = &effective_color * material.ambient;
    let mut diffuse = Color::black();
    let mut specular = Color::black();

    // This is the cosine of the angle between the light vector and surface normal.
    let light_dot_normal = light_direction.dot(&normal);

    // A negative value means the light is on the other side of the surface.
    if light_dot_normal > 0.0 {
        diffuse = &(&effective_color * material.diffuse) * light_dot_normal;

        // This is the cosine of the angle between the eye and reflection.
        let reflection_direction = -light_direction.reflect(&normal);
        let reflect_dot_eye = reflection_direction.dot(&eye);

        // A negative value means the light reflects away from the eye.
        if reflect_dot_eye > 0.0 {
            // Shininess determines the size of the specular layer
            let shininess = reflect_dot_eye.powf(material.shininess);
            specular = &(&light.intensity * material.specular) * shininess;
        }
    }
    ambient + diffuse + specular
}
At the end of the function, we add the layers together to get the final color to paint the pixel at that position. The book goes other the algorithm in easy to follow steps. I’m sure it would have been much harder to grok a mathematical explanation of Phong’s model and convert it to code. However, that’s always part of the fun, right?
Final Summation
I’d say we’ve finally crossed the Rubicon in our adventure here. We successfully created a working 3D renderer. That’s pretty impressive. Everything that comes next is just features enchancing what we have: shadows, scenes with multiple objects, reflections of those objects, squares, cylinders, multi-polygonal shapes. I think this is a great stopping point in our study of rendering, so I’m going to take a break. There are other interesting things I’m itching to consume and write about. We can always pick up our journey with a future part 5 later. Until then, by all means, grab a copy of The Ray Tracer Challenge if you haven’t already and give it a spin yourself. But use Haskell this time. Cheers!